Introduction
Two and a half year ago Signify announced the integration of Philips Hue and Spotify. This integration allows you to sync your lights with the music you are listening to. Spotify will control the lights directly, while the music is playing on your phone, tablet or computer. This is a great feature, but it can only be controlled from the Hue app or the Google Assistant. To integrate this feature in for example Home Assistant, the only option is to use the Google Assistant API. This is not ideal, because you can only start and stop the sync, but you can’t control the settings related to the synchronization. Trying to integrate this feature into my own smarthome setup, I started to reverse engineer the Hue app to see if I could control the Spotify integration directly.
Signify Hue App
In a first attempt to reverse engineer the Hue app, I used Jadx to decompile the app. This gave me a lot of obfuscated Java code, but I could not find any references to the Spotify integration. After some more research, I found out that the Hue app is developed using Flutter. Flutter is a framework for building cross-platform apps, developed by Google. Flutter compiles the Dart code and combines it with the Dart VM to run the app. The compiled code is packaged as libapp.so and is included in the Hue application apk. After some more research, it turned out it is not that easy to decompile Flutter applications. So instead of reverse engineering the Hue app, I thought it would be easier to just try to intercept the communication from the Hue app to find out how the Spotify integration is working.
Genesis
To intercept the communication between the Hue app and the Hue servers, I used HTTP Toolkit. HTTP Toolkit is a tool to intercept, debug and mock HTTP and HTTPS traffic. To intercept the traffic, you need to install the HTTP Toolkit root certificate on your device. Newer versions of Android however will applications not trust user installed certificates. To bypass this, you either need to root your device or use a virtual device. I used the Android emulator from Android Studio to run the Hue app. Luckily, the Hue app does not use certificate pinning, so no additional changes to the application where needed.
With the HTTP Toolkit proxy running, I started the Hue app and logged in with my Hue account. I opened the sync tab and watched the traffic in HTTP Toolkit.
- The user will request an authorization code for the current user from https://account.meethue.com/api/request-token
- The authorization code will be exchanged for an access token and refresh token from https://api.meethue.com/oauth2/token
- A Genesis UUID will be requested from https://api.meethue.com/genesis/api/discover/authentication
- The Genesis UUID is used to authenticate with the WebSocket server at wss://genesis-ws.meethue.com/
- JSON encoded messages will be send over the WebSocket connection to control the synchronization.
Client secrets
This looks promising, and in a first attempt I registered my own application at https://developers.meethue.com/ and tried to use the API. It turned out that is was not that easy, because the provided client id and secret where not accepted by the Genesis API. So I needed to find the client id and secret used by the Hue app. The client id was easy to find, because it is sent in the authorization request. The client secret was a bit harder to find, as the Hue app uses the Digest authentication scheme. This means that the client secret is not send in plain text, but is used in combination with a nonce to calculate a hash.
After some more research, I found out that the client id is stored in the libapp.so file. So the client secret should also be stored there. Based on my own client secret, I was propably looking for a 16 character long string, containing lowercase and uppercase letters and numbers. To find this string in the libapp.so file, I used the following command:
strings libapp.so -n 16 | grep -v -e '_' -e '\$' -e ' ' -e '\.' -e 'get' -e 'set' | grep [0-9] | grep [a-z] | grep [A-Z] | grep -E '^.{16}$'
This resulted in a few possible client secrets, and luckily I picked the right one on the first try. Now I have a working client id and secret, I can connect to the WebSocket server and control the synchronization.
Control messages
There are three types of messages that can be received from the WebSocket server:
control message
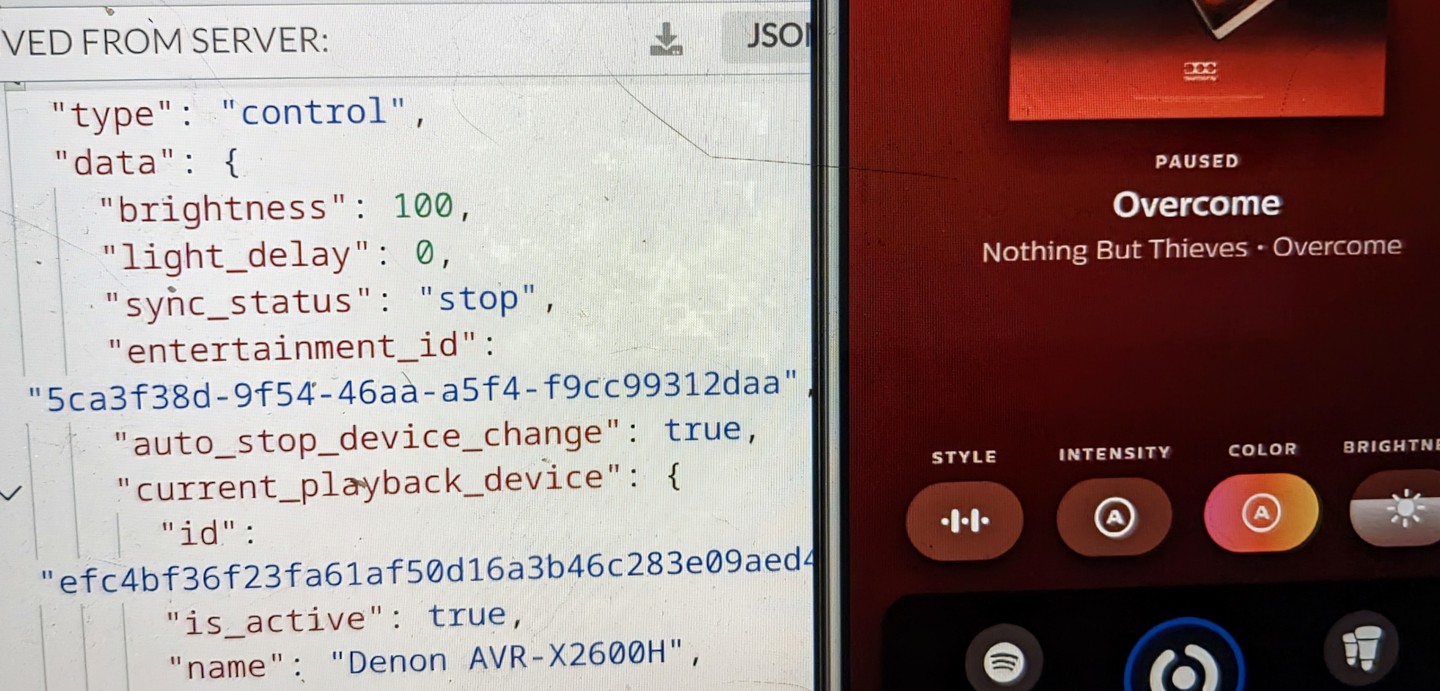
This message is used to control how the lights should behave when synchronizing with the music. It contains the brigthness, light delay, sync status, entertainment id, current playback device, color mode, intensity mode and algorithm.
{
  "type": "control",
  "data": {
    "brightness": 100,
    "light_delay": 0,
    "sync_status": "stop",
    "entertainment_id": "5ca3f38d-9f54-46aa-a5f4-f9cc99312daa",
    "auto_stop_device_change": true,
    "current_playback_device": {
      "id": "efc4bf36f23fa61af50d16a3b46c283e09aed448",
      "is_active": true,
      "name": "Denon AVR-X2600H",
      "type": "AVR"
    },
    "color_mode": {
      "mode": "auto",
      "value": "test12",
      "locale_name": {},
      "image_url": "",
      "colors": [
        [34, 120, 255],
        [144, 183, 255],
        [107, 255, 196],
        [169, 255, 144],
        [114, 212, 255]
      ]
    },
    "intensity_mode": {
      "mode": "auto",
      "value": "moderate"
    },
    "algo": 1
  }
}
You can send control messages back to the WebSocket server to control the synchronization. To start the synchronization, you can send the message
{
  "type": "control",
  "data": {
    "sync_status": "start"
  }
}
enum message
This message contains the possible values for the different settings received from the control message.
{
  "type": "enums",
  "data": {
    "sync_statuses": [
      "start",
      "stop"
    ],
    "intensities": [
      "auto",
      "subtle",
      "moderate",
      "high",
      "extreme"
    ],
    "color_palettes": [
      {
        "name": "auto",
        "locale_name": {...}
      },
      {
        "name": "Blush",
        "locale_name": {...},
        "image_url": "https://d32teakf6h3tsh.cloudfront.net/[email protected]",
        "colors": [
          [255, 147, 131],
          [255, 187, 166],
          [255, 170, 110],
          [255, 215, 218],
          [255, 172, 183]
        ]
      },
      [...]
    ],
    "algorithms": [
      {
        "name": "Classic",
        "locale_name": {...},
        "type": 0
      },
      {
        "name": "Pulse",
        "locale_name": {...},
        "type": 1
      }
    ]
  }
}
player message
This message contains information about the Spotify player. While playing music, it contains information about the album, track and the device that plays the music.
{
  "type": "player",
  "data": {
    "type": "track",
    "artist": {...},
    "album": {...},
    "track": {...},
    "device": {
      "name": "Denon AVR-X2600H",
      "type": "AVR"
    },
    "is_playing": true
  }
}
Or if nothing is being played:
{
  "type": "player",
  "data": {
    "type": "no content",
    "album": {},
    "track": {},
    "device": {},
    "is_playing": false
  }
}
Code
I have build an implementation of the API for my own smarthome application (not meant for general consumption). The code is available on GitHub as a reference and written in TypeScript. It is not complete, as it requires to do the OAuth2 flow to get an initial refresh token manually. While you also have to supply the client id and secret from the Hue app yourself. Also it is missing the code to authorize Spotify to control the lights. This still needs to be done via the Hue app. Hopefully Signify will release an official API for use in smarthome setups and will not block access to this hidden API.
An easy-to-use implementation of the API for, for example Home Assistant is an exircise for the reader.